Big Memory Go
Ehcache最初是由Greg Luck于2003年开始开发。2009年,该项目被Terracotta购买。软件仍然是开源,但一些新的主要功能只能在商业产品中使用,其中主要的产品有Big MemoryGo, Big Memory Max, Enterprise Ehcache.其官网有介绍http://www.terracotta.org/products/
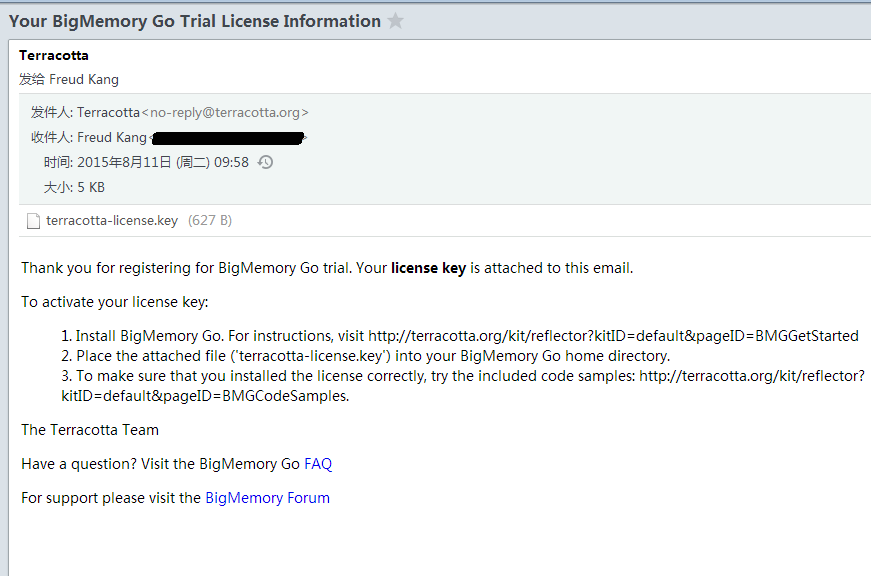
Big Memory Go是通过在Ehcache所在项目中开通一个端口,实现Ehcache监控和维护的功能的一整套产品,现在是收费的,但是提供了一个90天试用的licence.在下载之前会让你填写一系列的信息,然后通过邮件发送一个Licence Key文件。Big Memory Go下载页面http://www.terracotta.org/products/bigmemorygo
启动Big Memory Go
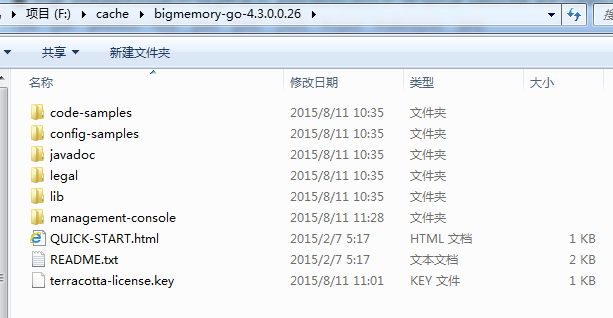
将下载下来的Big Memory Go文件解压,会出现bigmemory-go-4.3.0.0.26文件夹。然后把邮件中的Licence-Key文件解压到文件夹内。目录结构如下:
在DOS环境下切到bigmemory-go-4.3.0.0.26\management-console\bin目录下,执行start-tmc.bat
启动成功如下:
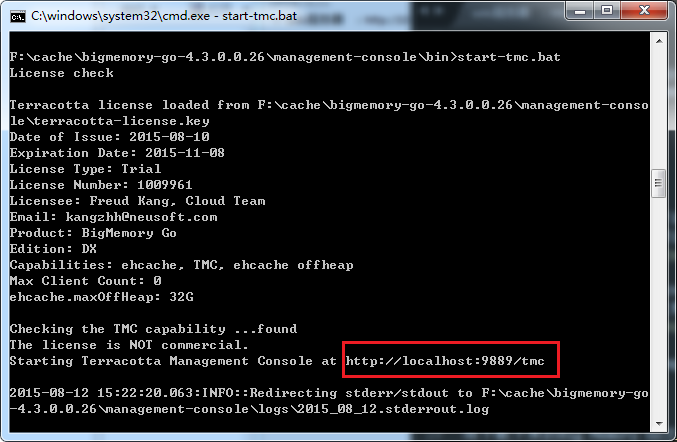
在浏览器中输入如下地址,查看是否正常启动
http://localhost:9889/tmc
启动之后需要配置两个用户名和密码,一个是admin权限,一个是User权限。配置完成之后,用admin用户登录成功如下:
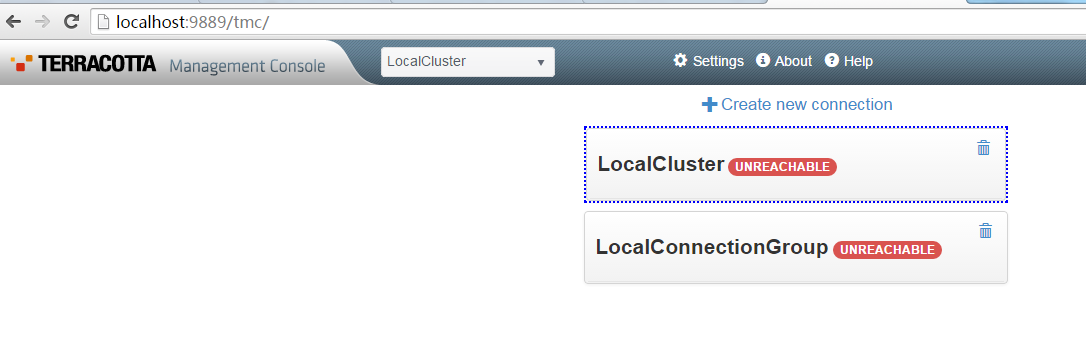
点击Create New Connection弹出以下对话框,显示Local Cluster和Local Connection Group的连接都是Offline
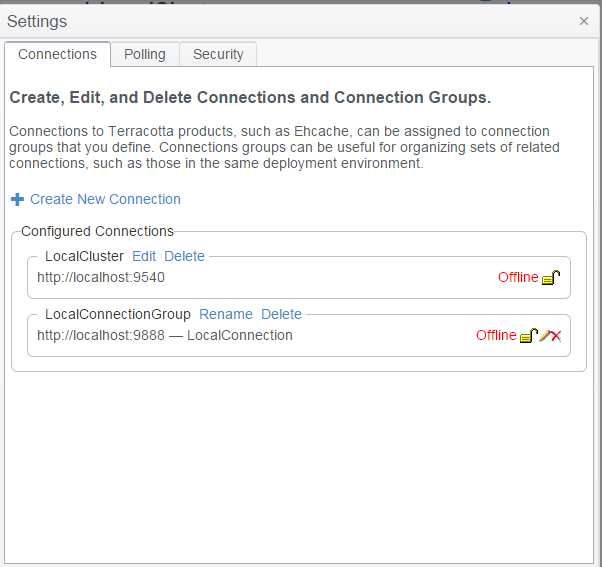
接下来要做的就是建立这个监控连接。
Ehcache缓存配置
在项目中引入ehcache-ee-2.10.0.0.26.jarjar文件,该文件在bigmemory-go-4.3.0.0.26\lib目录下
在原Ehcache的配置文件中添加如下行:
<managementRESTService enabled="true" bind="127.0.0.1:9888" />如果编译报错,请修改xsi:noNamespaceSchemaLocation="ehcache.xsd"指向的xsd文件为Big Memory Go中的xsd文件。
重新启动项目。
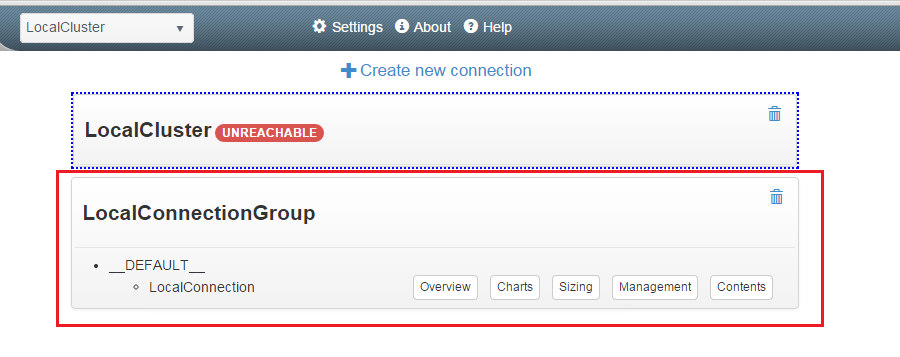
Big Memory Go监控页面变成了如下,表示成功监听:
关于Big Memory Go的具体使用可以参考官方文档http://www.terracotta.org/generated/4.3.0/html/bmg-all/#page/BigMemory_Go_Documentation_Set%2Fto-use_using_the_tmc.html%23
Ehcache与Mybatis的集成
在Mybatis的官方文档介绍中,可以使用第三方的缓存实现。而mybatis也实现了基于Ehcache的缓存处理
<dependency>
	<groupId>org.mybatis</groupId>
	<artifactId>mybatis-ehcache</artifactId>
	<version>1.0.0</version>
</dependency>
然后在Mapper.xml中配置如下其一
<!-- 有日志 -->
<cache type="org.mybatis.caches.ehcache.LoggingEhcache" />
<!-- 无日志 -->
<cache type="org.mybatis.caches.ehcache.EhcacheCache"/>
但是在我的项目中运行一直会报一个错误
javax.servlet.ServletException: Could not initialise servlet filter.
	at net.sf.ehcache.constructs.web.filter.Filter.init(Filter.java:192)
	at org.apache.catalina.core.ApplicationFilterConfig.initFilter(ApplicationFilterConfig.java:279)
	at org.apache.catalina.core.ApplicationFilterConfig.getFilter(ApplicationFilterConfig.java:260)
	at org.apache.catalina.core.ApplicationFilterConfig.<init>(ApplicationFilterConfig.java:105)
	at org.apache.catalina.core.StandardContext.filterStart(StandardContext.java:4830)
	at org.apache.catalina.core.StandardContext.startInternal(StandardContext.java:5510)
	at org.apache.catalina.util.LifecycleBase.start(LifecycleBase.java:150)
	at org.apache.catalina.core.ContainerBase$StartChild.call(ContainerBase.java:1575)
	at org.apache.catalina.core.ContainerBase$StartChild.call(ContainerBase.java:1565)
	at java.util.concurrent.FutureTask.run(FutureTask.java:262)
	at java.util.concurrent.ThreadPoolExecutor.runWorker(ThreadPoolExecutor.java:1145)
	at java.util.concurrent.ThreadPoolExecutor$Worker.run(ThreadPoolExecutor.java:615)
	at java.lang.Thread.run(Thread.java:745)
最后跟踪源码发现在Mybatis-ehcache的源码中,获取ehcache.xml的文件位置是classpath根目录下
InputStream input = EhcacheCache.class.getResourceAsStream("/ehcache.xml");很明显对于已经设计好的框架,这样是完全不能满足需求的。所以我决定把EhcacheCache文件Copy出来,重写一份,其实只需要重写获取CacheManager的部分就可以了。而在Spring的ApplicationContext中已经配置了,所以只需要改成如下就可以了
CacheManager cacheManager=CacheManager.getInstance();